
Do you have blog posts that still bring in consistent traffic?
You’re sitting on a goldmine of unused content.
But instead of writing new content from scratch, you can use AI tools to convert your best blog posts into video scripts and clips that grab attention instantly.
Let’s take a closer look at how to use AI to turn your long-form blog posts into scripts and clips. 👇
1. Choose which blog posts you’re repurposing
Start by identifying the blog posts you’ll be repurposing.
Review your analytics dashboard and find three to five high‑performing blogs. Choosing topics that are evergreen and easy to visualize.
Look for articles that rank well and that have backlinks from authoritative websites.
For example, this guide on getting Zepbound prescriptions online has high-quality links from trusted, high-authority websites. See the image below. Health topics are also evergreen topics, so this guide could lead to mini videos the brand can use across all of their marketing channels indefinitely.
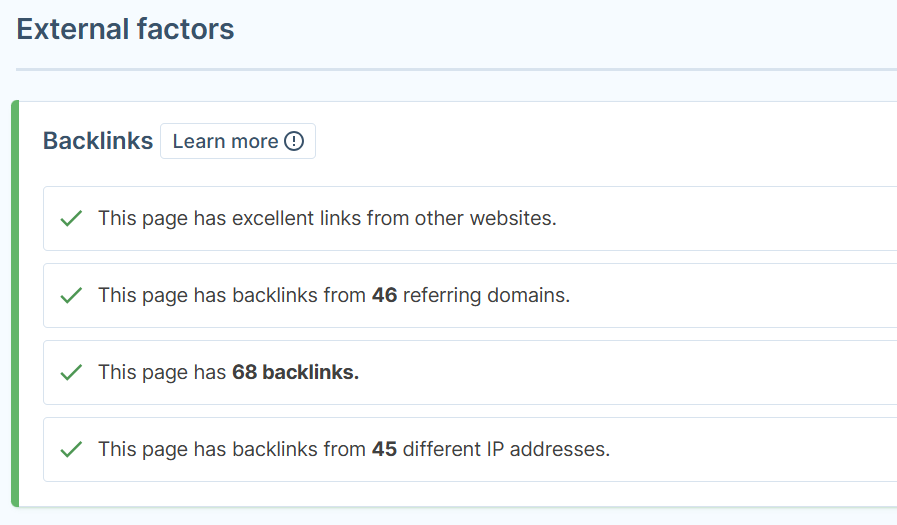
(Image by Ioana)
Backlinks Report
Next, give each chosen blog post a repurposing goal.
For example:
- Create one long video explainer (one to three minutes).
- Make three short clips for Instagram Reels
- Make three short clips for YouTube Shorts.
- Make two clips for LinkedIn.
When you start looking at blog posts as source material for multiple formats, every piece of content you’ve already created can become part of a scalable video strategy.
2. Use AI to extract key ideas
Use an AI tool, like WriteCream, to come up with video topic ideas using your blog posts.
Provide tone guidance so the ideas align with your brand voice.
With WriteCream, you can:
- Generate YouTube video topic ideas.
- Rewrite blog posts as scripts.
- Create voiceovers.
Paste in your article and try a prompt like:
“Extract the three most supportive takeaways from a post on mental health and teen residential treatment, and give me video ideas that have a calm, authoritative, and non-judgmental tone.”
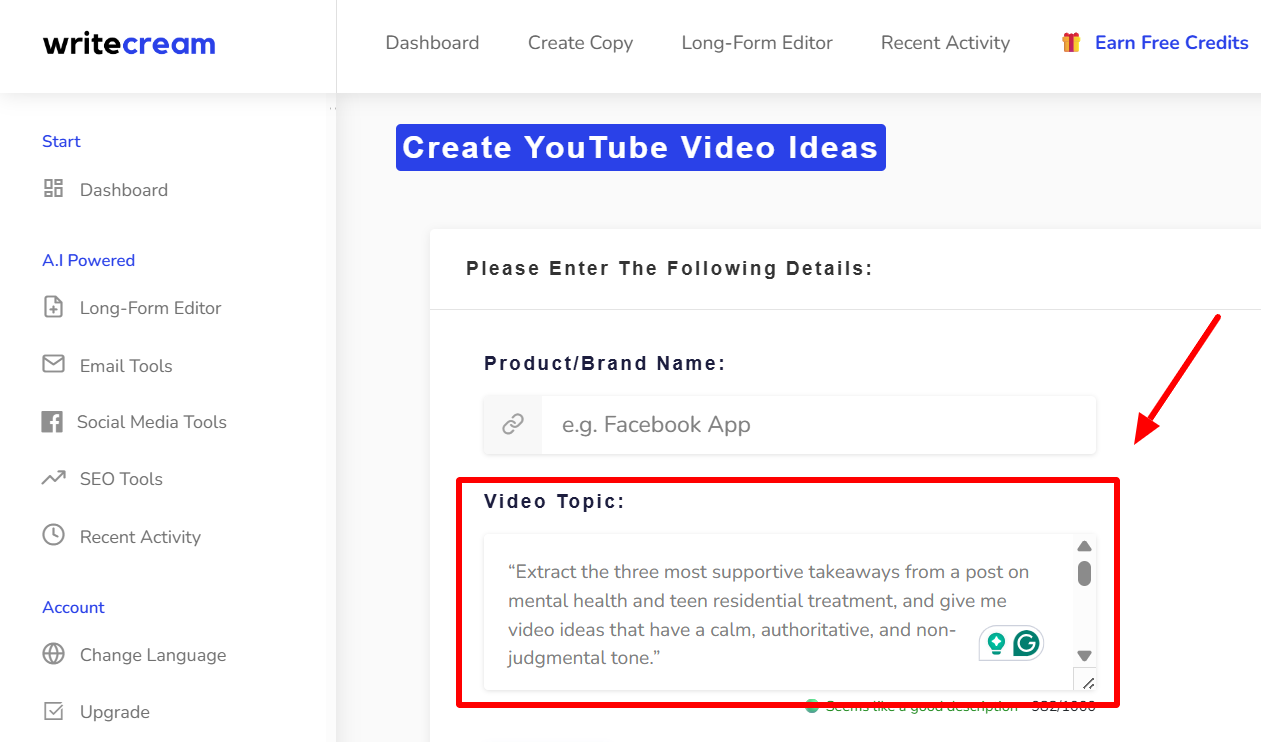
(Image by Ioana)
YouTube Ideas
You can also generate blog posts using YouTube videos, so it goes both ways!
Use these ideas to help plan your scripts in the next step.
3. Rewrite text for natural speech
After you know your video topics, use an AI writer to turn them into video scripts. Start with one blog post and one video script. (In the next step, you’ll turn this one script into multiple ones. If you rinse and repeat with your other blogs, you’ll have months’ worth of video content.)
Here’s an example from a historical blog post about Inside the Führerbunker.
I used this prompt with WriteCream’s Rewrite feature:
“Extract the most claustrophobic sensory details from the ‘Life Inside’ section and turn it into a video script.”
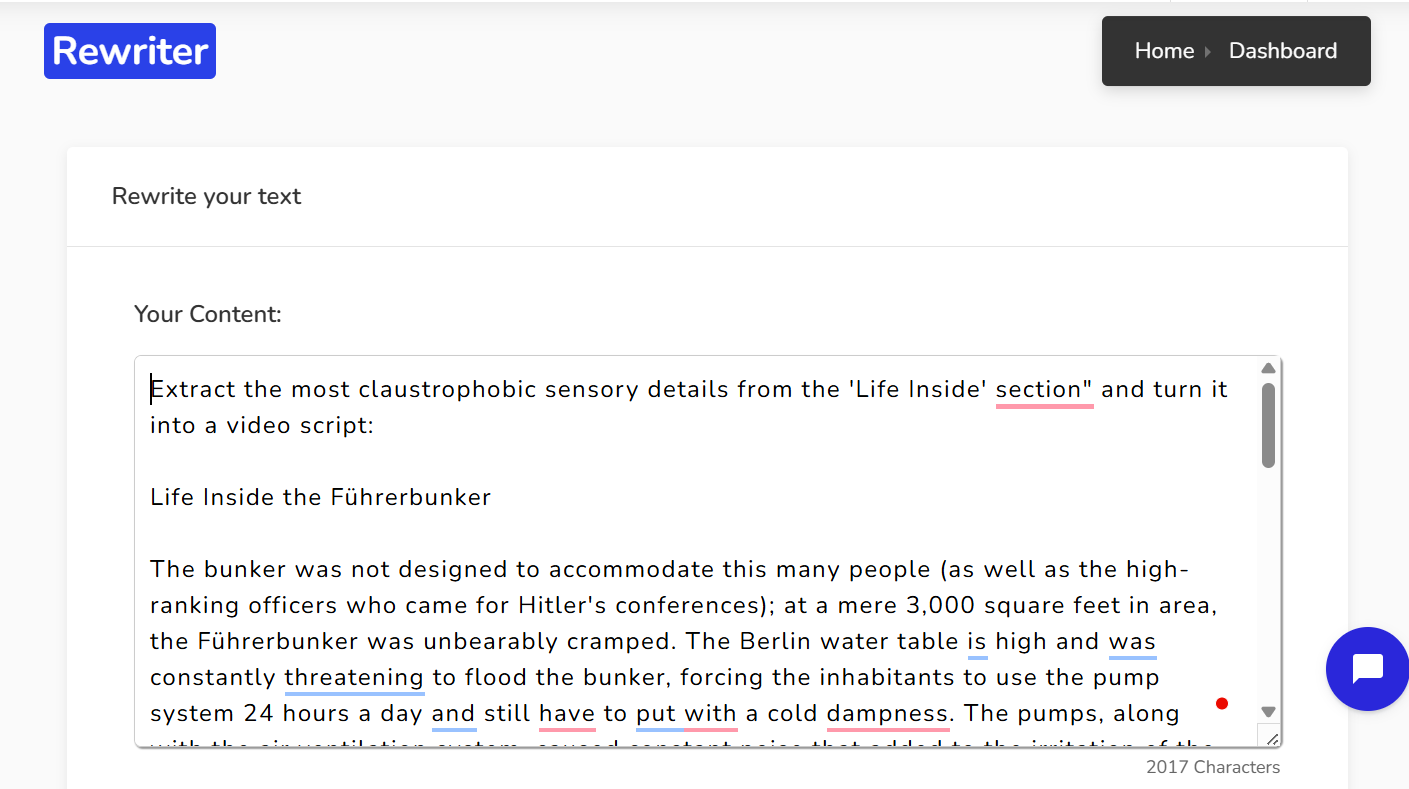
(Image by Ioana)
Rewriter Tool
And here’s WriteCream’s output:
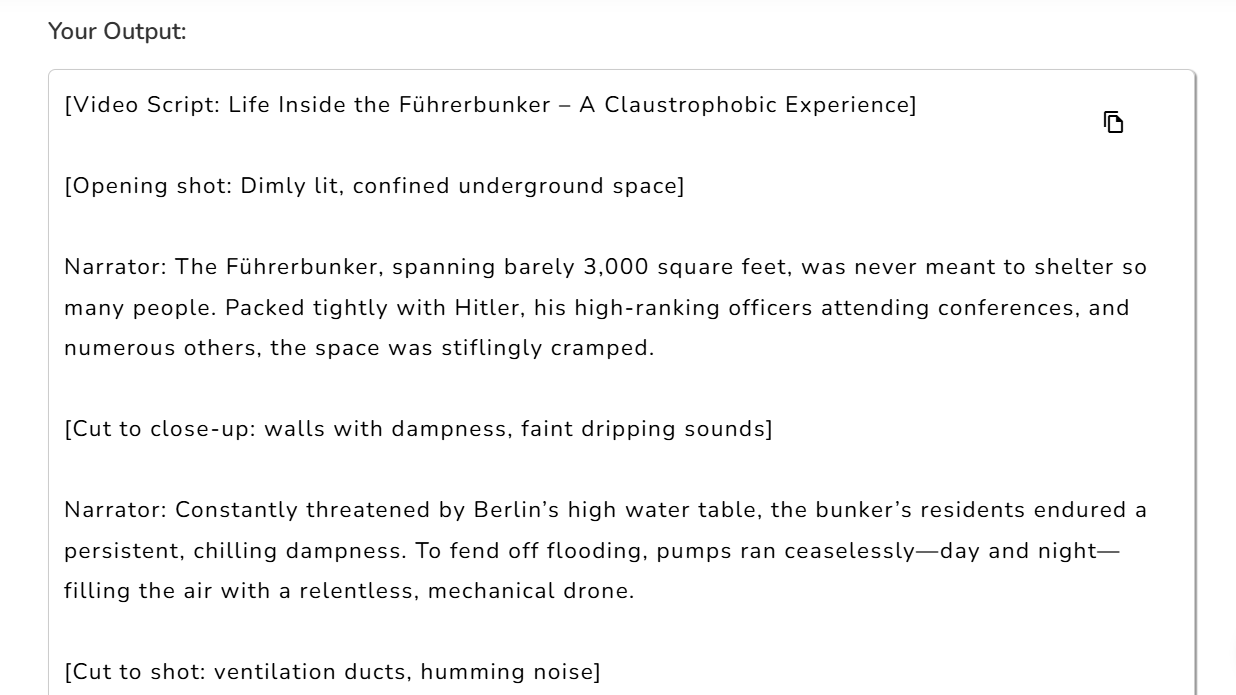
(Image by Ioana)
Rewriter Tool
A solid start.
Once you have your script, read it out loud before finalizing it. If it sounds natural and flows without effort, it’s ready. If it feels too stiff, shorten it further. Your goal is to help the audience feel like you’re talking to them, not at them, in your unique brand voice.
4. Break content into smaller pieces
You already have one main video script that came from your blog post. Now you’re going to cut that one script into several mini-scripts, so each mini-script becomes its own short video.
Do this:
- Take your main script and mark the parts that naturally stand alone (e.g., one tip, one example, one quote, one CTA).
- Split the script into three to five mini-scripts, each following this structure:
- Hook.
- One key point or tip.
- Quick example or context.
- Call to action.
Give each mini-script a clear label in your doc (e.g., “Clip 1: Myth,” “Clip 2: Tip,” “Clip 3: CTA”).
What happens next:
- Each mini-script = One short video (Reel, Short, TikTok).
- Keep these mini-scripts under 45–60 seconds when spoken.
- Keep your original full script for a longer one to two-minute video on YouTube or LinkedIn, and use the short videos to drive people to that longer one.
Batching multiple clips at once saves time on setup and editing. You’ll record and export them in one go, and keep your brand visuals, captions, and music consistent.
5. Add visual and audio directions
Before jumping into video editing, generate a quick list with visuals and sound design cues.
Use an AI B‑roll Generator to find stock footage or stock visuals based on context (e.g., “person typing,” “crowd scrolling on phone,” “AI interface”).
Include prompts like “add upbeat background music” or “overlay text for keyword.”
Then choose aspect ratio templates depending on your target platform:
- Square (1:1) = Instagram feed or LinkedIn.
- Vertical (9:16) = Reels, TikTok, Shorts.
- Horizontal (16:9) = YouTube
As you work through this phase:
- Define where your CTAs or key points appear on screen (e.g., “pop-up quote,” “fade in stat,” etc.).
- Add timing notes for visual transitions or voice pauses.
- Note pacing preferences, like fast for TikTok, slower for LinkedIn.
If you’re camera‑shy, use AI avatars for narration. They mimic real human gestures and voices while letting you stay off camera. The combination of avatars, stock video, and subtle music cues keeps production lightweight but still professional.
6. Generate and export the videos
Once your scripts, visuals, and audio cues are ready, generate your videos.
Use your AI video editor (like WriteCream combined with a blog‑to‑video tool like VEED) to paste in your script, apply your chosen templates, and auto‑sync captions and B‑roll.
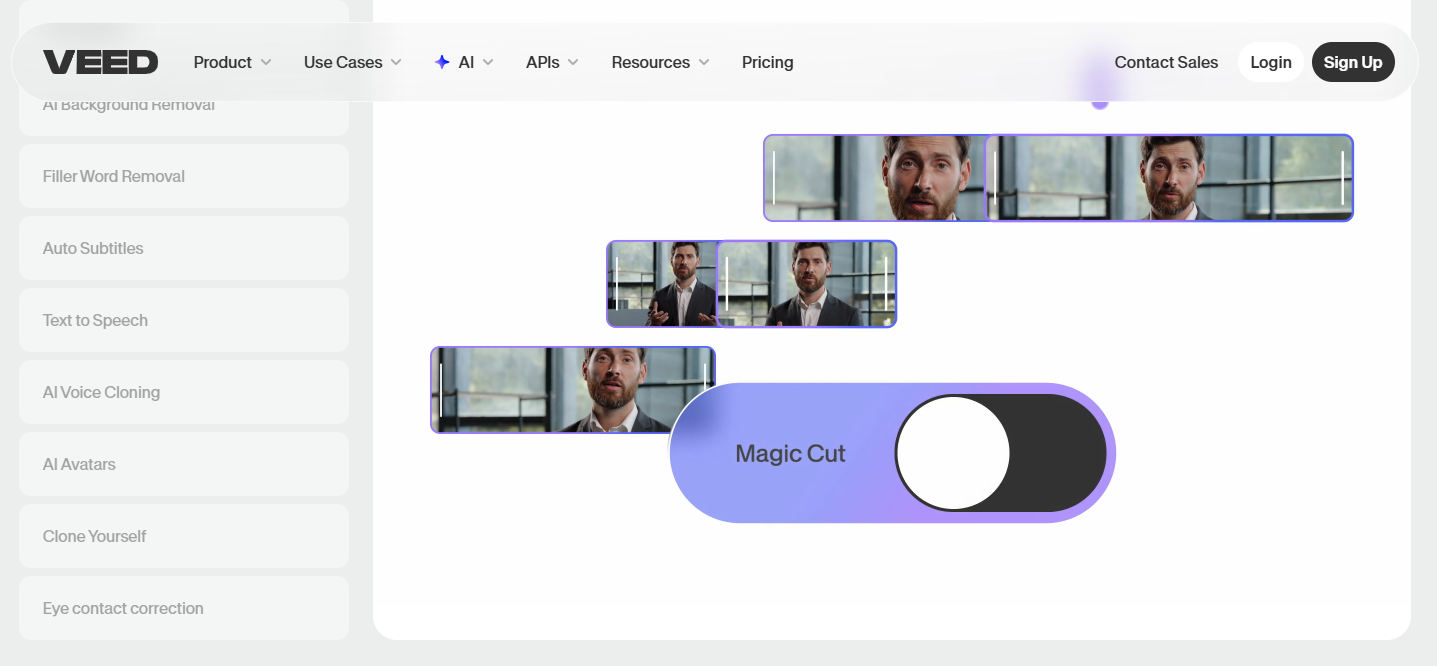
VEED Video
Export each asset in the right format and aspect ratio for its channel.
Then save them in clearly labeled folders so your team can grab, schedule, and reuse them without hunting around.
7. Balance automation with quality control
AI is fast, but creativity still needs your touch. Once the tool generates your clips or renders visuals, run a quick quality pass:
- Watch every video once from start to finish with the captions on.
- Correct off‑timed text or broken sentence syncs.
- Adjust caption size and placement to avoid covering key visuals.
- Review transitions. (Remove anything that feels too mechanical.)
- Replace generic stock footage with brand‑specific visuals when possible.
Run a final pass for storytelling flow, too.
Each clip should open with tension (a hook) and close with a takeaway or CTA. You can let the video generation software handle structure, but keep your editing eye sharp for pacing and personality.
8. Analyze data to improve results
Once you’ve posted your new video assets, start tracking performance.
Measure video engagement quality:
- Open analytics on each social platform and check the average watch time.
- Identify videos that lose viewers in the first few seconds and rewrite their hooks.
- Track shares, comments, and saves. (These signal high replay value.)
Use these insights to tell your AI video creator which sections or phrases kept people engaged.
For example, if a tip section performs best, generate new variations around the same idea.
9. Scale production across channels
Once your process works smoothly for one piece, make it uniform. Build a repeatable system around your AI tools, visuals, and publishing schedule.
Here’s a setup that scales well:
- Batch three to five blogs each month.
- Store all AI prompts, brand colors, and visuals in organized folders.
- Reuse your same video editor template to drop in new scenes.
- Adjust text overlays for each aspect ratio (vertical, square, horizontal).
- Schedule releases using your social media scheduling tool (e.g., Buffer, Planable).
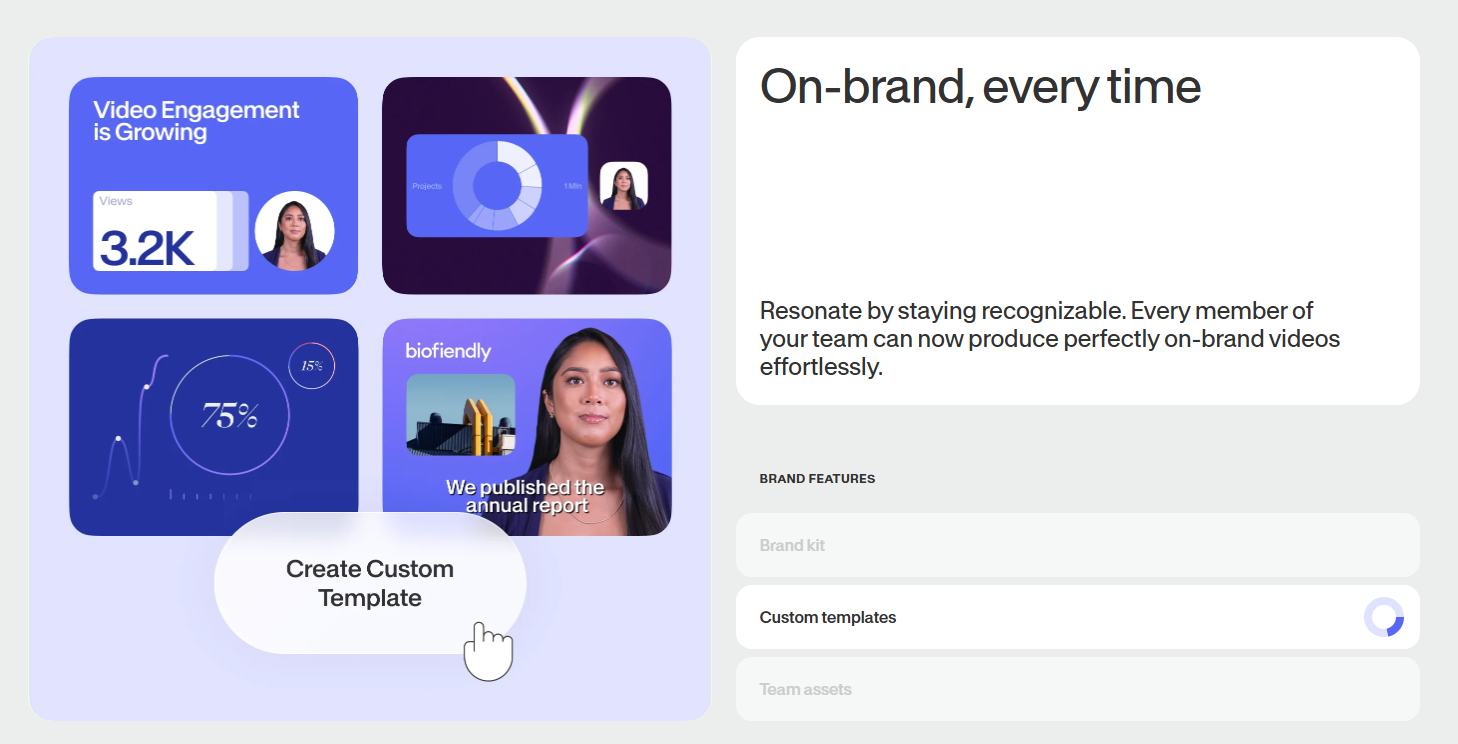
VEED Video Template
Consider setting up video planning theme days. (Like make long videos on Mondays, YouTube videos mid‑week, and Reels or TikToks on Fridays.) When every team member knows the structure, you can repurpose consistently.
10. Follow a quick start workflow
According to the latest information from the SEO newsletter, if you’re just starting or want a one‑page reference, follow these steps:
- Open your analytics and pick a strong blog post.
- Drop it into WriteCream.
- Give it instructions to convert it to a script.
- Edit the AI draft for brand tone and length.
- Generate visuals and B‑roll using your B‑roll Generator or stock video library. (Try VEED.io)
- Add background music, captions, CTAs, and AI avatars where needed.
- Export files in multiple aspect ratios for each social platform.
- Upload everything to your social media scheduling tool.
- Track performance after seven days.
- Adjust future scripts based on data. (E.g., Shorten, add visuals, or switch hooks.)
Run this workflow weekly. The more often you repeat it, the easier it gets … and the more your video production pipeline starts running itself.
Wrap up
Turning blogs into engaging videos doesn’t require a film crew or a video background anymore. You just need the right workflows, AI tools, and your own creativity.
With a few hours per week, you can turn written insights into branded video content that fits any social platform.
If you need help with scripts, video ideas, or generating blogs from YouTube videos, try WriteCream. It’s fast, free, and easy to set up.
